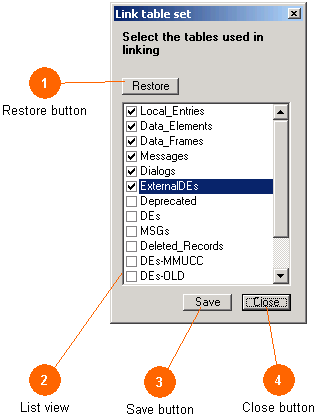
The Link Table Set Dialog determines which of the tables will be used in the process of resolving links between the current record (in the current table) and the other tables in the file. The standardized tables are displayed first, followed by any valid user created tables in the file.
Most users will want to check for linkages in the first six tables listed. Users working on older tables and files may want to select only those tables (DEs, MSGs, ExternalDEs). Keep in mind that if you have an entry in an outdated table (such as DEs) and that same entry in the new tables (such as Data Elements) and you set the check boxes to link to both, then you will see both entries listed in the linking reports.
Also keep in mind that if you link to extra tables (causing duplicate entries with the same name to appear) this may cause you to receive warnings when rendering XML. The XML translator will seek out all matching records for the data types which you use in the complex ASN records (data frame and messages), and if multiple records are found a warning will be issued. As a rule, you can re-use a data concept all day long, but you must define it only once.
This Dialog is also displayed when an older file (*.mdb) is being converted to the current style (*.ITS). In that context the user is asked what tables should be examined and converted to the new tables. The typical default (DEs and MSGs tables) is correct most of the time, but this Dialog allows selecting other tables should the need arise.
Finally, it is also used when gathering Local Stubs from the tables to create entries in the Local Entries table. In this context the user is asked what other records should be examined for such stub points.
 Restore button
 The restore button resets the check box selections to the default pattern for the tables that are displayed (typically the first five for modern tables and the DEs-MSGs for older tables. It is useful as a starting place for additional selections by the user.
  List view
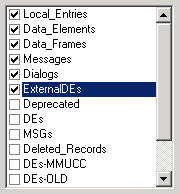 The list box shows the tables to be selected from.
  Save button
 The save button confirms the currently selected check boxes.
  Close button
 The Close button dismisses the Dialog window. Press the Save button before closing to confirm your choices.